

Multisensory instruction is a way of teaching that engages more than one sense at a time. Using sight, hearing, movement, and touch gives kids more than one way to connect with what they are learning.
Here are a few examples of multisensory techniques you can use to help all kids, especially those who struggle with reading.
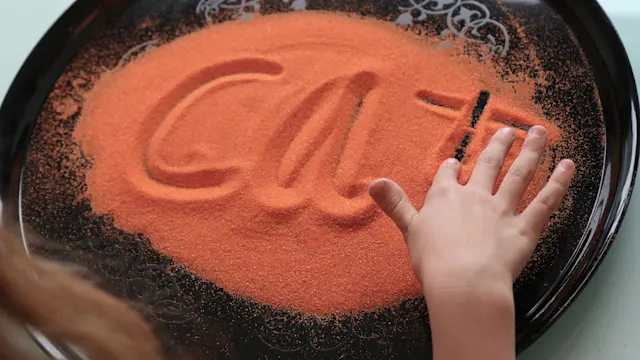
This activity lets kids use sight, touch, and sound to connect letters and their sounds. Kids start with a handful of sand on a cookie sheet or a dollop of shaving cream on a table.
Then they spread out the sand or shaving cream and use their finger to write a letter or word in it. As they write, kids say the sound each letter makes. They then blend those sounds together and read the whole word aloud.
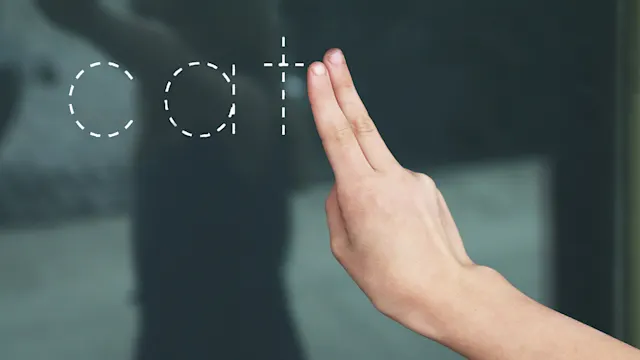
Air writing (also called sky writing) reinforces the sound each letter makes through “muscle memory.” It can also help reinforce commonly confused letter forms like b and d. Kids use two fingers as a pointer (keeping elbows and wrists straight) to write letters in the air. They say the sound each letter makes as they write it.
Encourage kids to imagine the letter as they write it. They can also pretend they’re writing in a certain color.
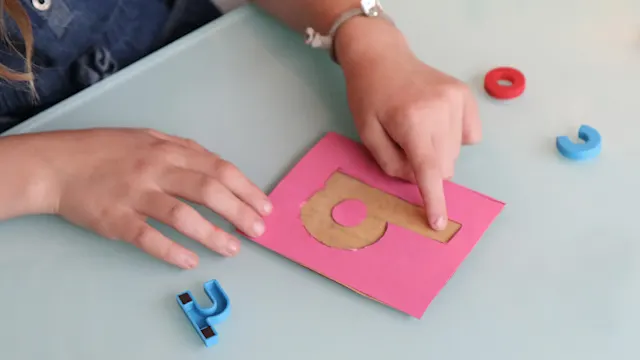
Letters cut out of sandpaper can help kids retain a tactile (touch) memory of letters and their sounds. Kids trace each letter with their fingers while saying the sound of the letter out loud. They can feel the shape of the letters as they write.
Kids can also arrange sandpaper letters on a table to spell out star or sight words. Then they lay a long piece of regular paper on top and color over the letters like a “gravestone rubbing.”
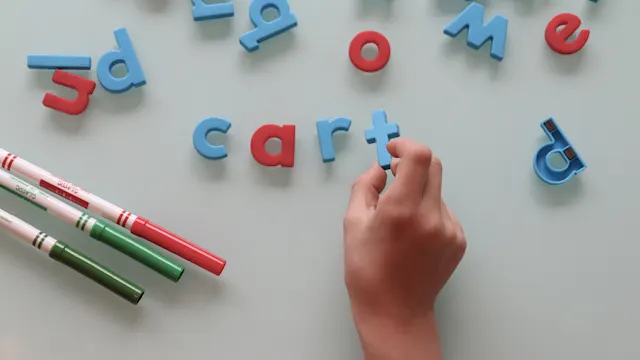
Kids can build words with tiles or magnetic letters. The Barton Reading Program uses color-coded tiles in various ways to help kids connect sounds with letters. Kids can also use magnetic letters that have vowels in one color and consonants in another.
Kids say each letter’s sound as they lay it down. Once they’ve built the word, they read it out loud.
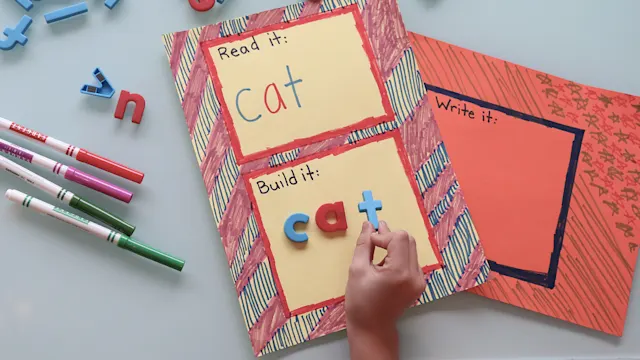
You can use this technique to teach sight words to one or more kids at a time. Kids each have a piece of paper with three boxes on it, labeled “Read,” “Build,” and “Write.” They also have cards with sight words, magnetic letters (or tiles), and a marker.
Have kids read the sight word that’s in the “Read” box together with you. Then have them build the word in the “Build” box, using their letters. Finally, have kids practice writing the word in the “Write” box.

Tapping gives kids a way to feel and hear how sounds are segmented and blended to make words. The Wilson Reading System pioneered this technique. Kids break down and blend word sounds by tapping out each sound with their fingers and thumb.
Take the word bat. Kids tap an index finger to their thumb as they say the b sound. They tap their middle finger to their thumb as they say the short a sound. And they tap their ring finger to their thumb as they say the t sound. Then they put the sounds together to say bat.
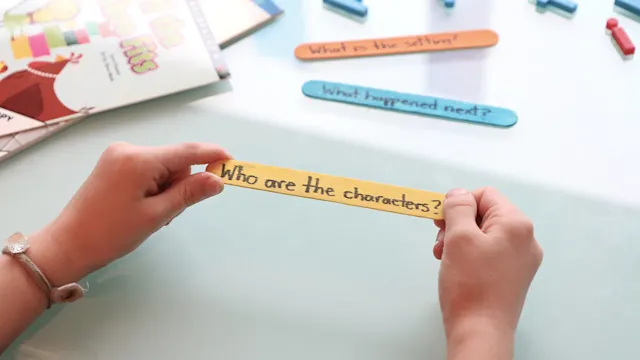
Story sticks can help kids who struggle with reading comprehension visualize the elements of a story. Use a different color craft stick to represent each element. Yellow sticks might ask the question, “Who are the characters?” while blue sticks ask, “What is the setting?”
While reading together, hand kids a stick and ask them to answer the question on it. Or ask kids to highlight the elements of a printed story using the proper colors.
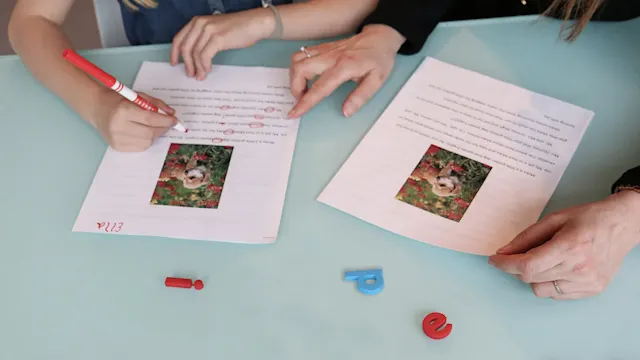
In this activity, kids join in or share the reading of a book with you. They follow along as you read aloud or while they listen to an audio version of the book. They can interact with the text by underlining sight words or circling short or long vowels.
During shared reading, kids can use printable books. Printable books leave a space for kids to write in sight words or draw pictures to match sentences.